In modern manufacturing, ensuring product quality is not just a necessity; it’s an expectation. A primary concern in assembly lines, particularly when using fasteners, is to avoid errors that could compromise the product’s functionality, safety, and customer satisfaction.
This is where the concept of error proofing comes in. Error proofing is the practice of designing and controlling manufacturing processes to prevent errors, or, if errors do occur, to catch them early in the process. This guide walks you through essential steps to error-proof assembly processes, especially when working with fasteners and other components.
Table of contents
Need for Error Proofing
The quality of an assembled product can be impacted by several factors. These include operator mistakes, using incorrect or missing components, and using the wrong fasteners. When these issues occur, they not only affect product integrity but can lead to costly rework, delays, and customer dissatisfaction.
Manufacturers are, therefore, focused on securing product quality through systematic error-proofing measures. By implementing effective strategies, manufacturers can achieve near-zero defect production.

Public, Onsite, Virtual, and Online Six Sigma Certification Training!
- We are accredited by the IASSC.
- Live Public Training at 52 Sites.
- Live Virtual Training.
- Onsite Training (at your organization).
- Interactive Online (self-paced) training,
What is Error-Proofing?
Error proofing refers to the design and implementation of processes, tools, or systems that prevent errors from occurring or detect them before they result in defective products or services. The term “poka-yoke” originates from Japan and means “mistake-proofing.” Industries ranging from manufacturing to services actively use this practice to ensure they avoid common errors.
The objective of error proofing is simple: prevent mistakes before they happen. By using error-proofing strategies, companies can save time, reduce costs, and ensure product quality.
Process of Error-Proofing
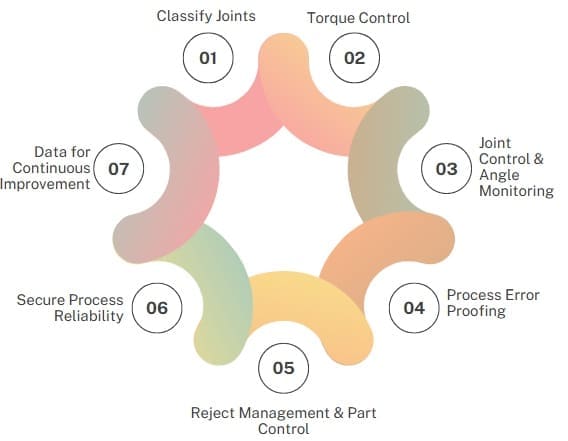
Error-proofing is a structured approach that builds on various levels of control, from simple fixes to advanced technology. Below, we outline the seven key steps that manufacturers can follow to secure product quality throughout the assembly process.
Step 1: Classify Joints
The first and fundamental step in error-proofing is to classify joints in an assembly. Joint classification refers to identifying the type of fasteners and their respective requirements based on their risk levels. The VDI Standard (VDI/VDE 2862 Blatt 2) divides joints into three categories:

- Class A (Safety Critical): These joints are vital for safety. Any failure can lead to serious injury or loss of life. For these joints, both torque and angle must be controlled and monitored with strict inspection requirements.
- Class B (Function Critical): These joints are important for the proper functioning of the product but do not pose a direct danger to life. These also require torque and angle control, but with less stringent monitoring than Class A.
- Class C (Customer Critical): These joints are non-critical but may cause customer annoyance if they fail. Torque control is required, but the monitoring is less complex.
Classifying joints helps determine the tools and processes that should be used in assembly, ensuring that the right level of control is applied to each joint.
Step 2: Torque Control
The second step is implementing torque control in the assembly process. Torque control ensures that fasteners are tightened with the correct amount of force. Using tools that deliver precise torque, such as shut-off tools, prevents issues like under-torquing or over-torquing. These tools are essential for reducing errors and improving process reliability.
Examples of shut-off tools include:
- Clutch Tools
- Shut-off Pulse Tools
- Shut-off Nut runners
These tools are specifically useful for Class C bolts but are not ideal for Class A or B fixings because they do not record monitoring variables like angle. Nonetheless, they reduce operator errors and improve the overall quality of the assembly process.
Step 3: Joint Control & Angle Monitoring
Even with torque control in place, there are still potential sources of error. Joint control and angle monitoring are essential for detecting additional issues that torque control alone cannot address. Angle monitoring allows operators to detect errors like:
- Missing washers
- Re-hit tightening (tightening a bolt that has already been fastened)
- Incorrectly tightened screws
Angle monitoring not only improves error detection but also ensures correct parts are used and bolts are tightened properly. Some strategies used for joint control include:
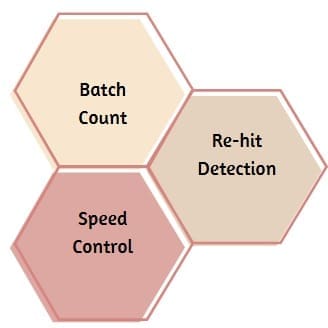
- Batch Count: Ensures all screws are tightened and counts only successful tightenings.
- Re-hit Detection: Prevents unnecessary tightening of already fastened bolts.
- Speed Control: Slows down the tool during final tightening to avoid damaging parts.
By combining torque control with angle monitoring, manufacturers can greatly reduce assembly errors and ensure higher product quality.
Also Read: What is Poka Yoke?
Step 4: Process Error Proofing
Process error proofing goes a step further by designing manufacturing processes to prevent errors before they even occur. This involves creating systems that detect and correct errors as soon as they are identified. Some strategies for process error proofing include:
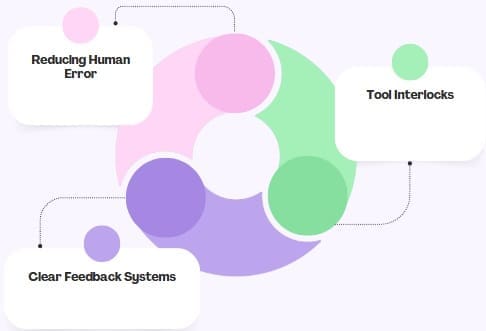
- Reducing Human Error: By automating the manufacturing process, the risk of human error is minimized.
- Tool Interlocks: Prevent operators from using tools on the wrong product and stop faulty products from advancing in the assembly process.
- Clear Feedback Systems: Use visual indicators or alarms to alert operators of issues that need correction.
Automation tools, such as Human-Machine Interfaces (HMIs), provide operators with real-time data and feedback. These systems can help with:
- Visual data displays
- Production tracking
- Monitoring of Key Performance Indicators (KPIs)
Moreover, Smart Connected Assembly systems can streamline the process by linking the tools to the product ID, ensuring that the right assembly procedure is followed for each product variant.
Step 5: Reject Management & Part Control
The next step involves managing rework and controlling parts throughout the production process. Reject management ensures that faulty products are identified and removed before they move further down the assembly line. Part control, on the other hand, helps prevent the use of incorrect or missing components.
Systems such as Pick to Light (P2L) and Part Verification help ensure that the correct parts are selected and used during assembly.
- Pick to Light (P2L): This system uses lights to guide the operator in selecting the right part. The light indicates the correct part to use for each specific station.
- Part Verification Systems: These systems use barcode scanners to ensure that the correct parts are being used. If the wrong part is scanned, the assembly process is halted.
By controlling parts and managing rejected items, manufacturers can prevent errors before they occur and maintain product quality across the entire production process.
Step 6: Secure Process Reliability
Once the tools and processes are in place, the next step is to ensure their continued reliability. Securing process capability involves routine checks and audits to ensure that all tools are functioning within defined limits. Regular inspections help detect when tools or processes are drifting out of calibration, preventing errors before they impact production quality.
Atlas Copco’s quality assurance tools, such as the STa6000 and STWrench, enable manufacturers to assess tool performance and process capability. These tools help maintain high levels of reliability by allowing for quick diagnostics and adjustments as necessary.
Step 7: Data for Continuous Improvements
The final step in error-proofing is using data to drive continuous improvements in the assembly process. The data collected from tools, processes, and quality checks should be analyzed to identify trends and root causes of defects. This allows manufacturers to make informed decisions about improvements and adjustments in real time.
Software applications like ToolsTalk 2, ToolsNet 8, and QA Supervisor play an essential role in data analysis. These tools provide:
- Real-time production reporting
- Statistical analysis of trends
- Root-cause analysis of defects
By continuously monitoring and analyzing data, manufacturers can improve their processes, increase efficiency, and ensure the long-term success of their production lines.
Also Read: What is Visual Factory?
Examples of Error Proofing Techniques:
- Positive Stop: A device that prevents further action until specific conditions are met (e.g., a machine that won’t start unless a safety cover is closed).
- Go/No-Go Gauges: Tools that check whether a product meets certain specifications, rejecting items that don’t meet the standard.
- Visual Cues: Markings or colors that guide workers in performing tasks correctly, such as visual indicators that show the correct placement for parts or components.
- Checklists: A list of steps or actions that need to be completed to ensure tasks are done in the correct order and nothing is missed.
Benefits of Error Proofing
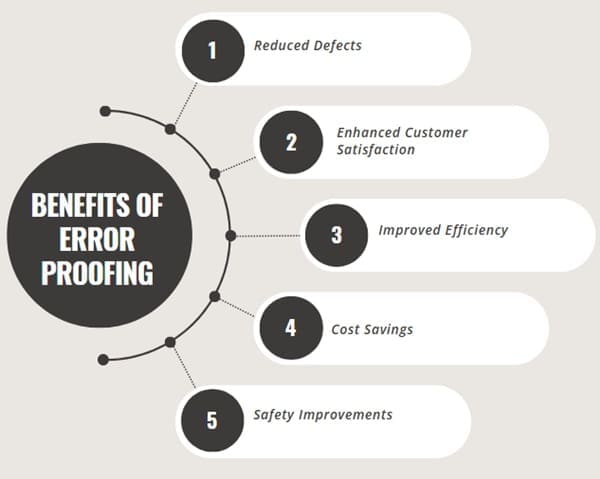
- Reduced Defects: By eliminating or preventing errors early in the process, fewer defective products are produced, improving overall quality.
- Enhanced Customer Satisfaction: Consistently high-quality products or services lead to satisfied customers and fewer complaints.
- Improved Efficiency: Error-proofing ensures smoother operations, reducing time spent on rework or corrections.
- Cost Savings: Fewer mistakes mean less need for costly repairs, returns, or recalls.
- Safety Improvements: By preventing dangerous errors, error-proofing enhances workplace safety for employees and customers alike.
Final Words
Error proofing is crucial for manufacturers looking to produce high-quality products consistently. The seven steps outlined in this guide provide a structured approach to minimizing errors and ensuring product quality at every stage of the assembly process.
From classifying joints to using advanced data analysis for continuous improvements, these steps help manufacturers create a reliable and efficient assembly process that meets the highest standards of quality.
By integrating the right tools, processes, and software, manufacturers can not only reduce defects but also enhance productivity and customer satisfaction. With the increasing demand for traceability and control, error-proofing is not just an option but a necessity for staying competitive in today’s manufacturing environment.

About Six Sigma Development Solutions, Inc.
Six Sigma Development Solutions, Inc. offers onsite, public, and virtual Lean Six Sigma certification training. We are an Accredited Training Organization by the IASSC (International Association of Six Sigma Certification). We offer Lean Six Sigma Green Belt, Black Belt, and Yellow Belt, as well as LEAN certifications.
Book a Call and Let us know how we can help meet your training needs.